Making a photo album
Written by: Nate Torres
Last updated: July 30, 2024
As photographers, we see our photos on digital screens all the time. Sometimes, we want to see it in real-life. And the most popular way to bring our photos to life is by creating a photo album...
How to make a photo album
Here are the 5 steps you need to follow in order to make a photo album:
1. Pick a photo album design platform
The first step to making a photo album is to pick a design platform. The one I'll be using in this guide is Zno Designer.
Zno is a photo lab and software that offers a suite of photography business tools. They offer an album design tool, gallery tool, slideshow tool, and a retoucher tool.
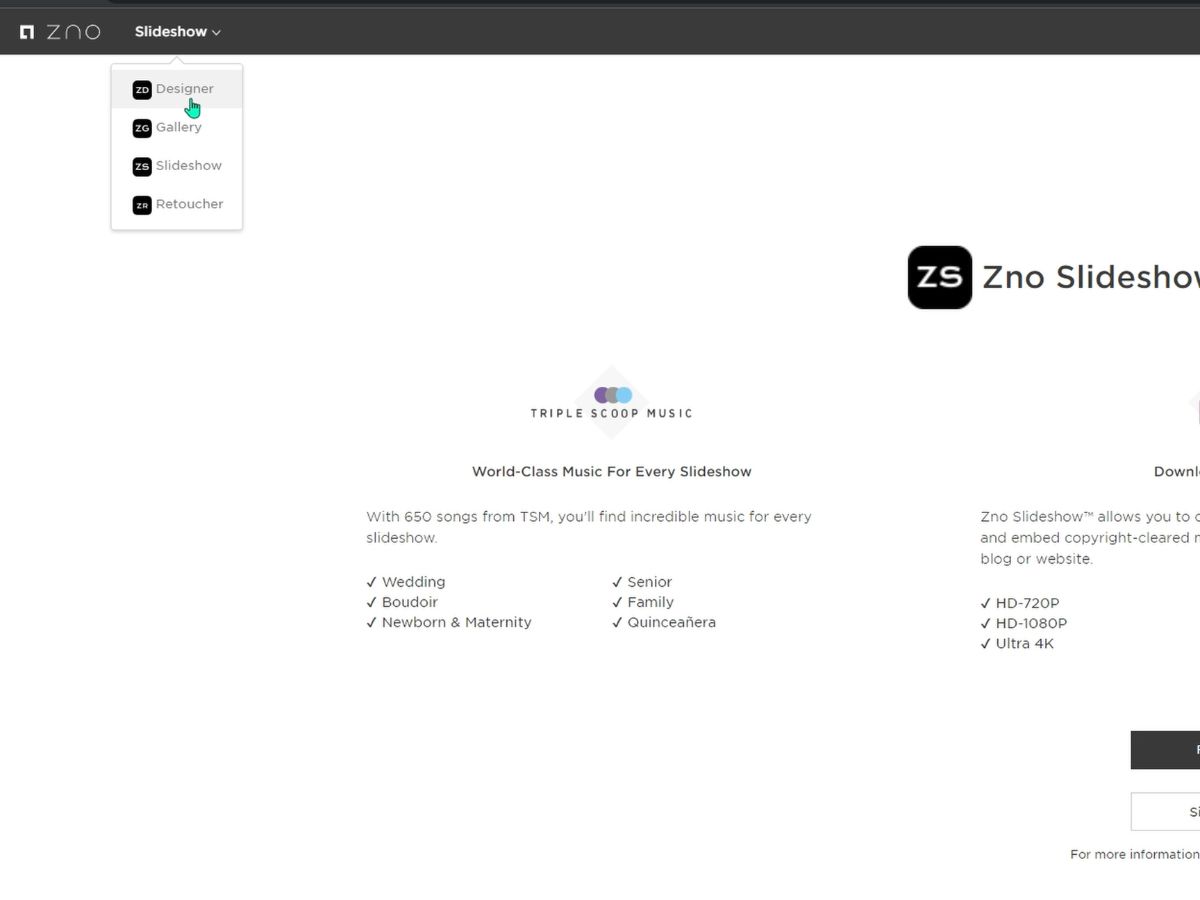
In fact, I used Zno Gallery to create a photo gallery to send to clients as well.
With your album design service, you'll want to make sure they have features that allow you to customize your album from front to back fully. And if you get stuck or have trouble, ideally, the service you choose should have some type of support feature or a team that will help you design it.
That's what I like about Zno Designer, they have a lot of customization options in terms of the layout of my images in the album. They also have a design service you can pay for if you don't have the time or lack the design experience to do it yourself.
2. Choose your design
Once you've picked your album design platform, it's time to choose your design.
Now, there are many different types of albums, such as flush mount albums, fine art albums, lay-flat photo books, and slim photo books.
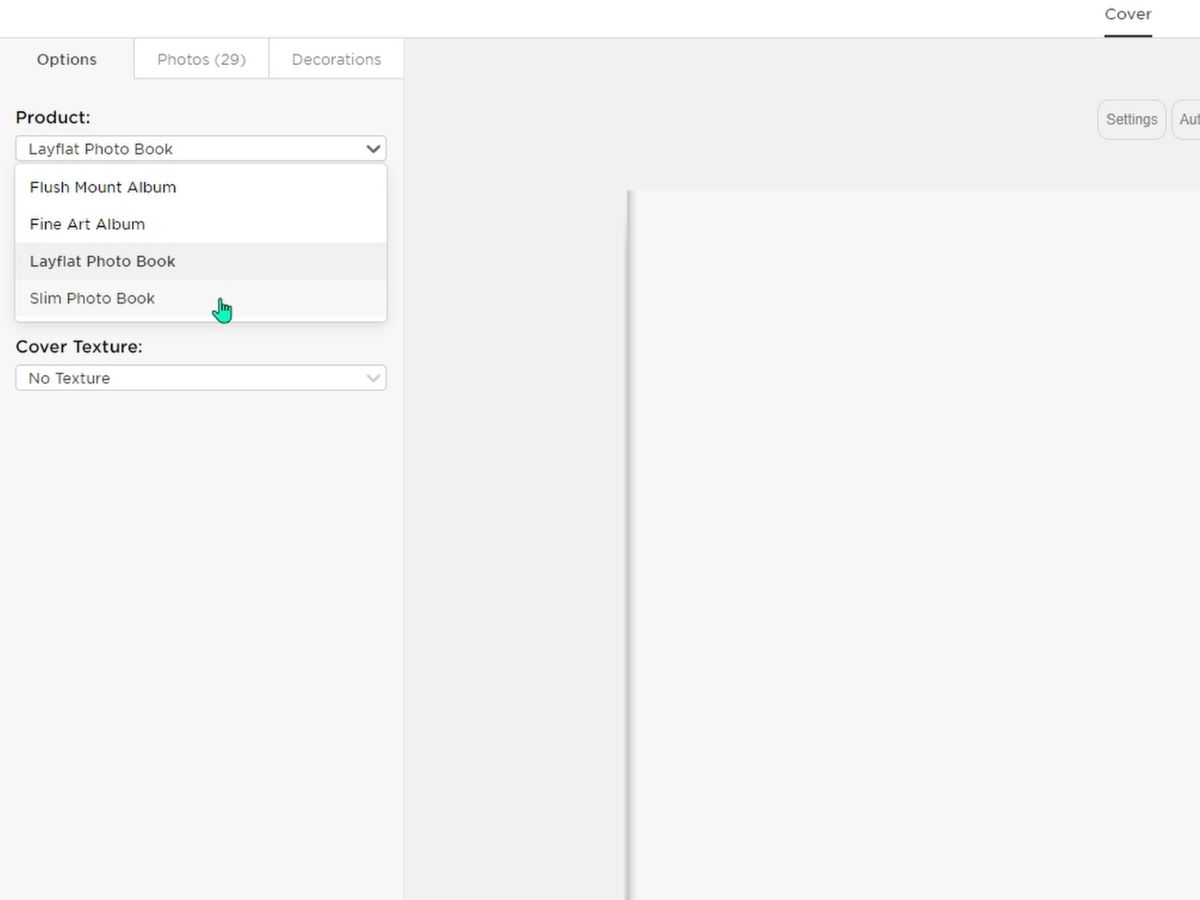
There are also many different sizes you can choose from for your photo album, such as square, portrait, or landscape.
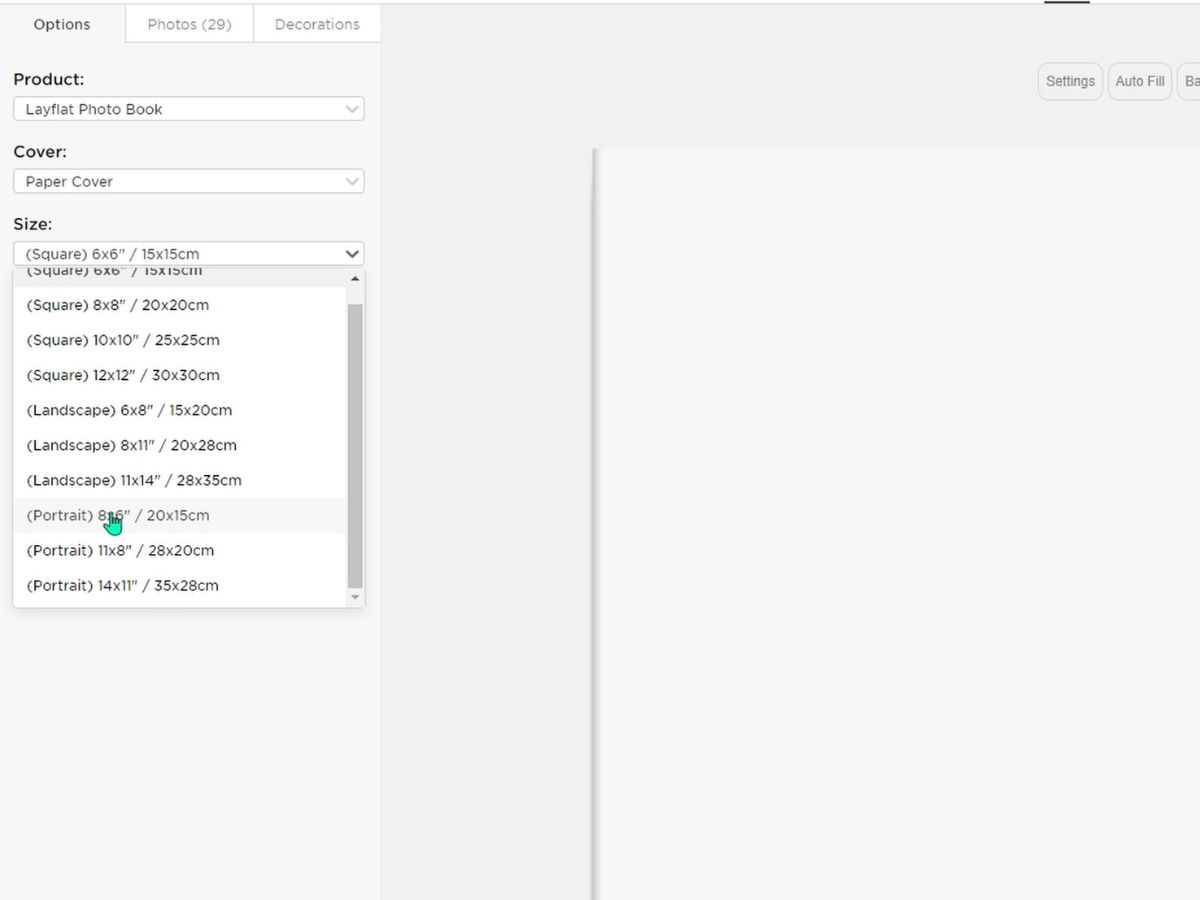
You can choose the type of album and the size you want it in, and then you'll be ready to start designing it.
3. Design the album
The third step is to design the album.
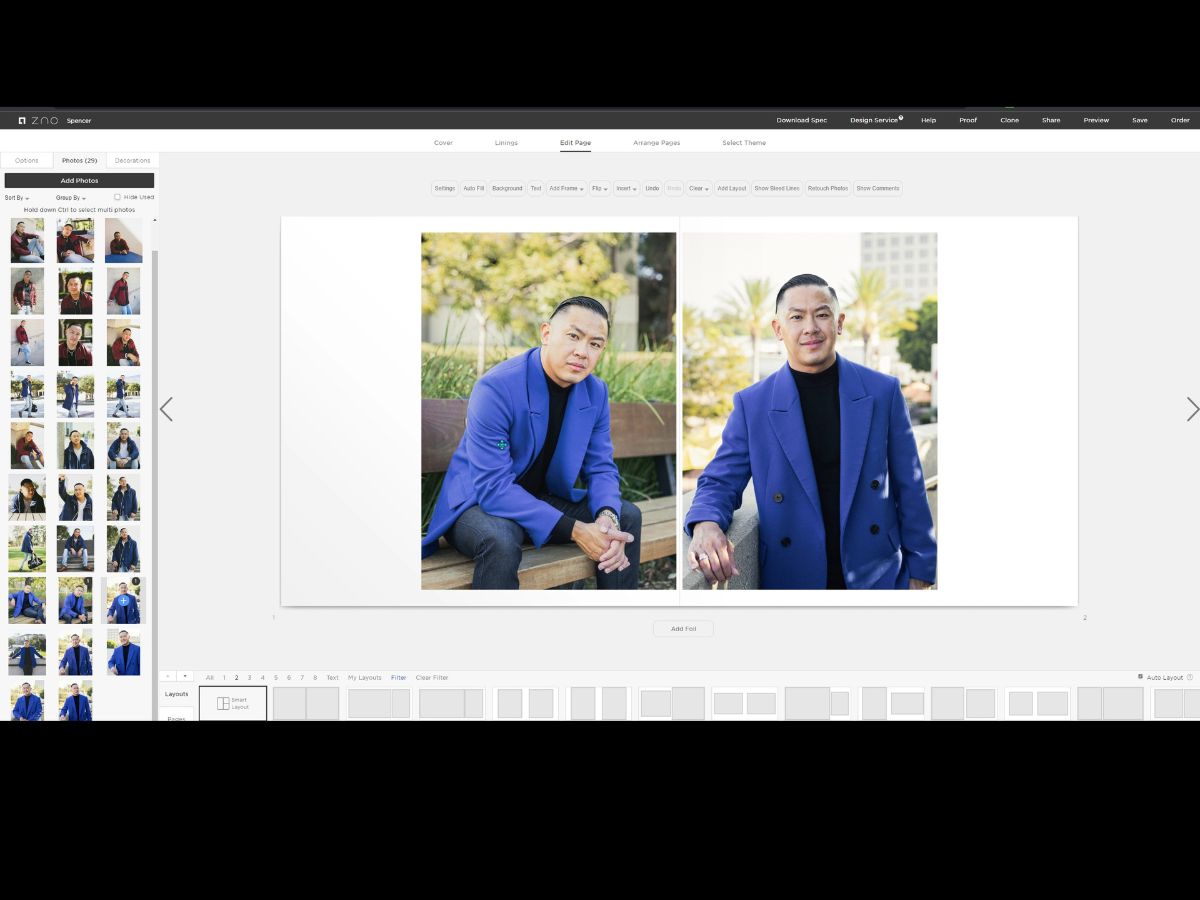
Now, based on the photo album design platform you use, you may be limited in what you can do. What I like about Zno Designer is that there are lots of different layout options for setting up your pages.
Design the photo album cover
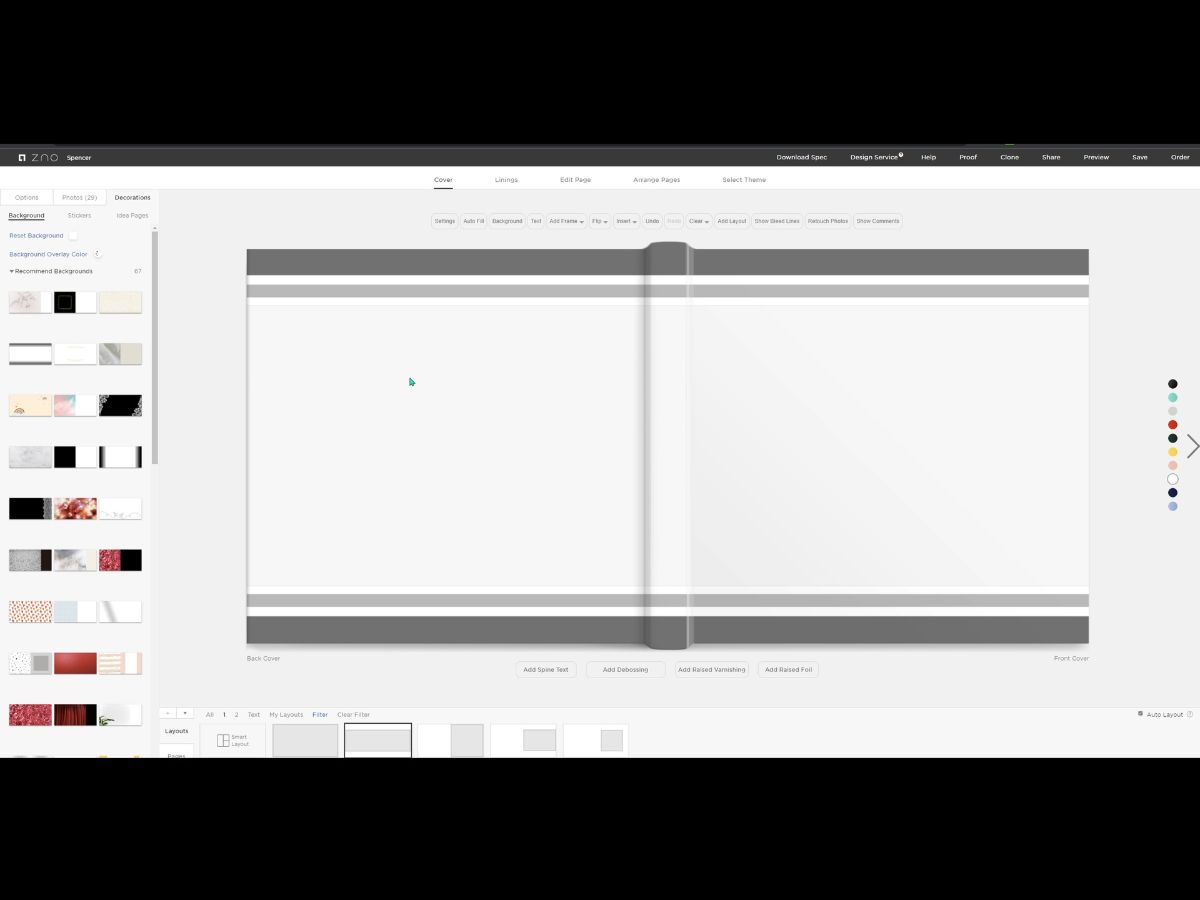
First, you can design the cover to your liking. I usually go to the Decorations tab and choose a decoration for the cover instead of a large photo.
You can choose from one of their backgrounds. You can adjust the width to your liking or choose from one of their Layout options at the bottom.
Design the photo album pages
When you are done designing your cover, it's time to move to the pages.
On the pages, you can easily add in the photos that you've imported from the Photo panel by dragging and dropping. Once the photos are on the page, you can play around with the Layouts on the bottom.
Based on the width and height of the photos you're adding, see which ones better fit your album.
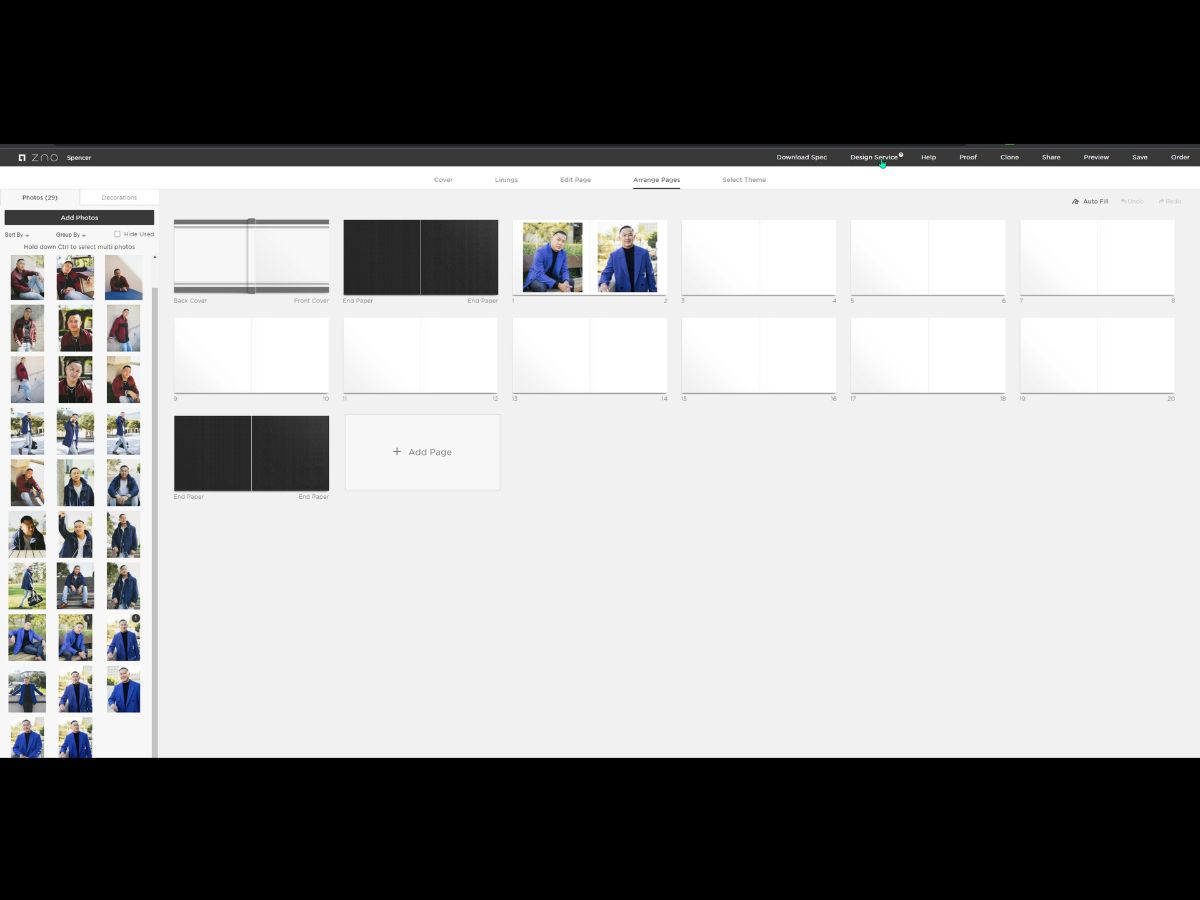
If you have a lot of photos to add and are getting tired of clicking the left and right arrows, you can go to the Arrange Pages tab to get a bird' s-eye view of your album.
I find this feature very handy.
Design service
Let's talk about the Design Service.
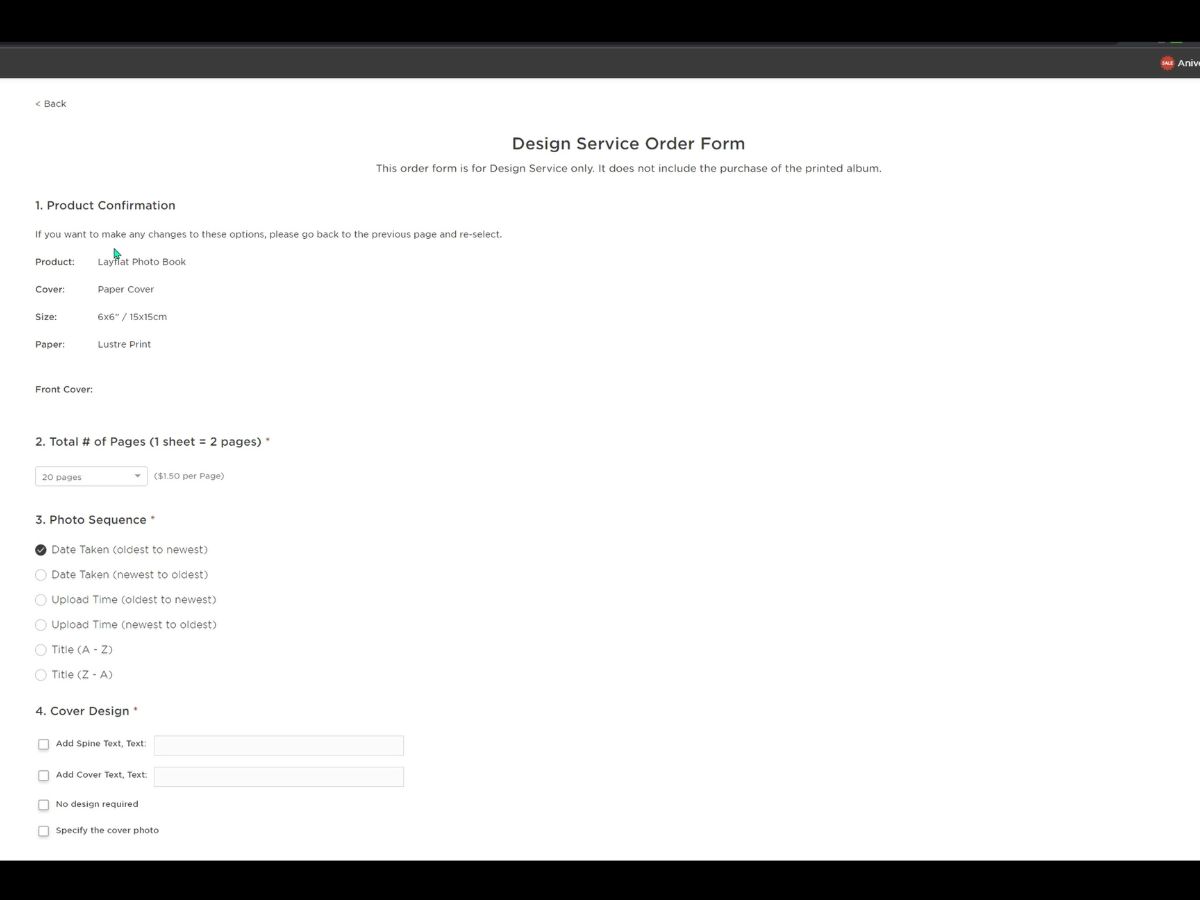
If you don't feel like designing your photo album or you don't have the time, you can request the Design Service. Zno's team will design the album for you.
When they are designing the album, they'll ask for your feedback and you can leave comments letting them know what you like and don't like. Once you're happy with how the album looks, you can accept their design and move on to ordering the album.
4. Have all parties review the album
The fourth step is to have all parties review the album.
If you are making a photo album for a client, you want to ensure they are happy with it before ordering it.
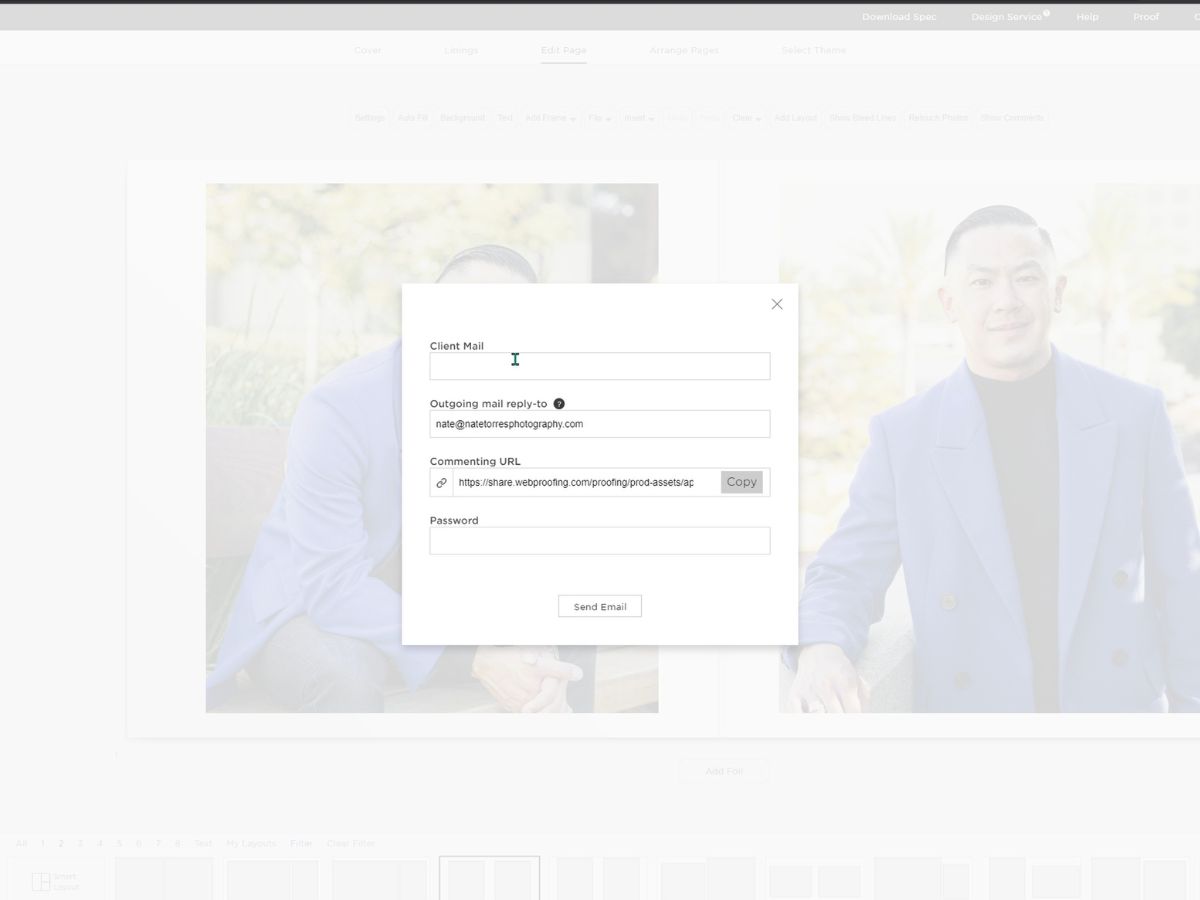
What I like about Zno Designer is that it has a proofing feature. You can email your client a link to the album design page. When your client gets to the page, they can comment on certain pages.
Once they are happy with the design and have no more comments, they can approve the design. This lets you know you have the green light to order the album.
5. Order the album
The final step is to order the album.
Make sure to run through the design one more time, making sure no images are being cut off and that your DPI is set to the correct number. If you aren't familiar with DPI, it refers to the number of dots per inch in a printed image.
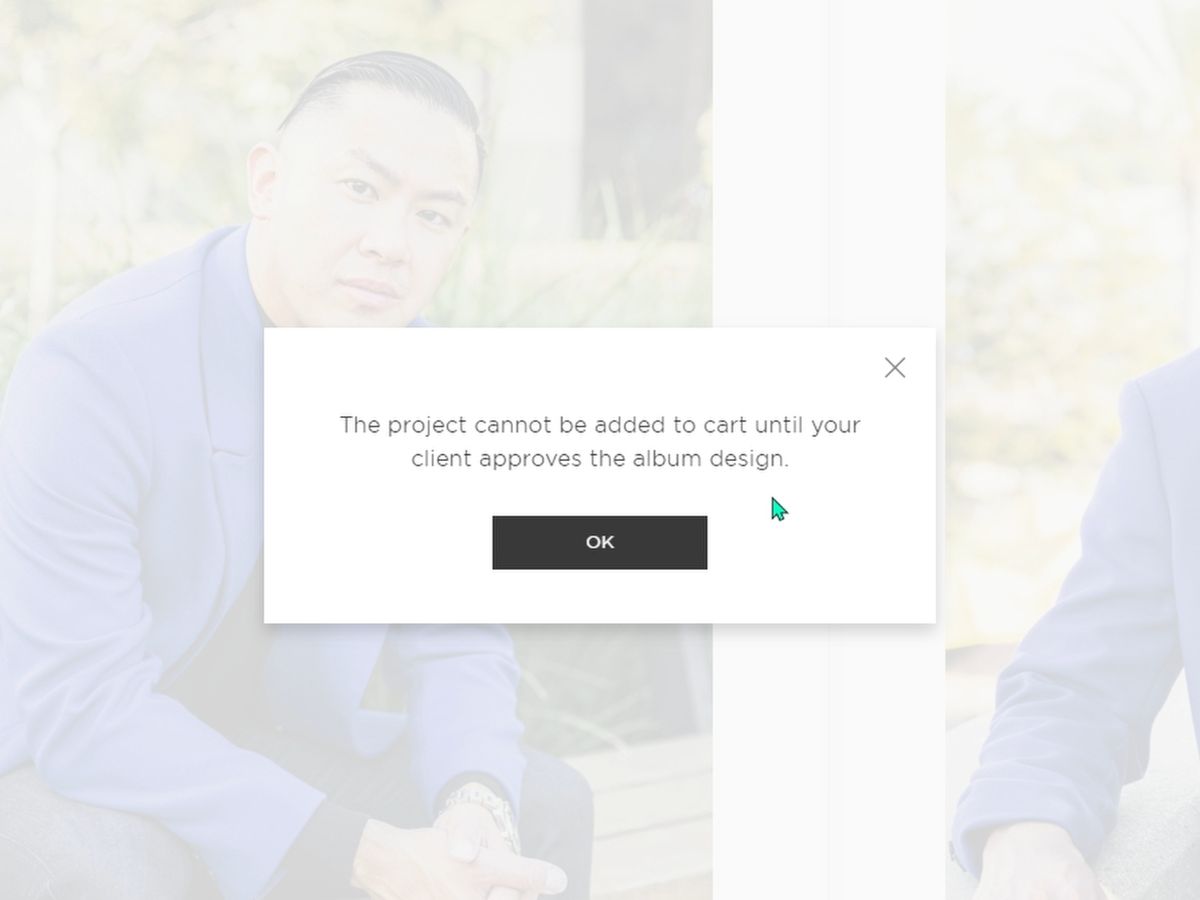
Standard prints typically start at 300 DPI, which is the default in Zno Designer. What I like about Zno Designer is that when you go to order and request a client to review the album, you actually can't order it until the client approves.
This is a nice little safeguard.
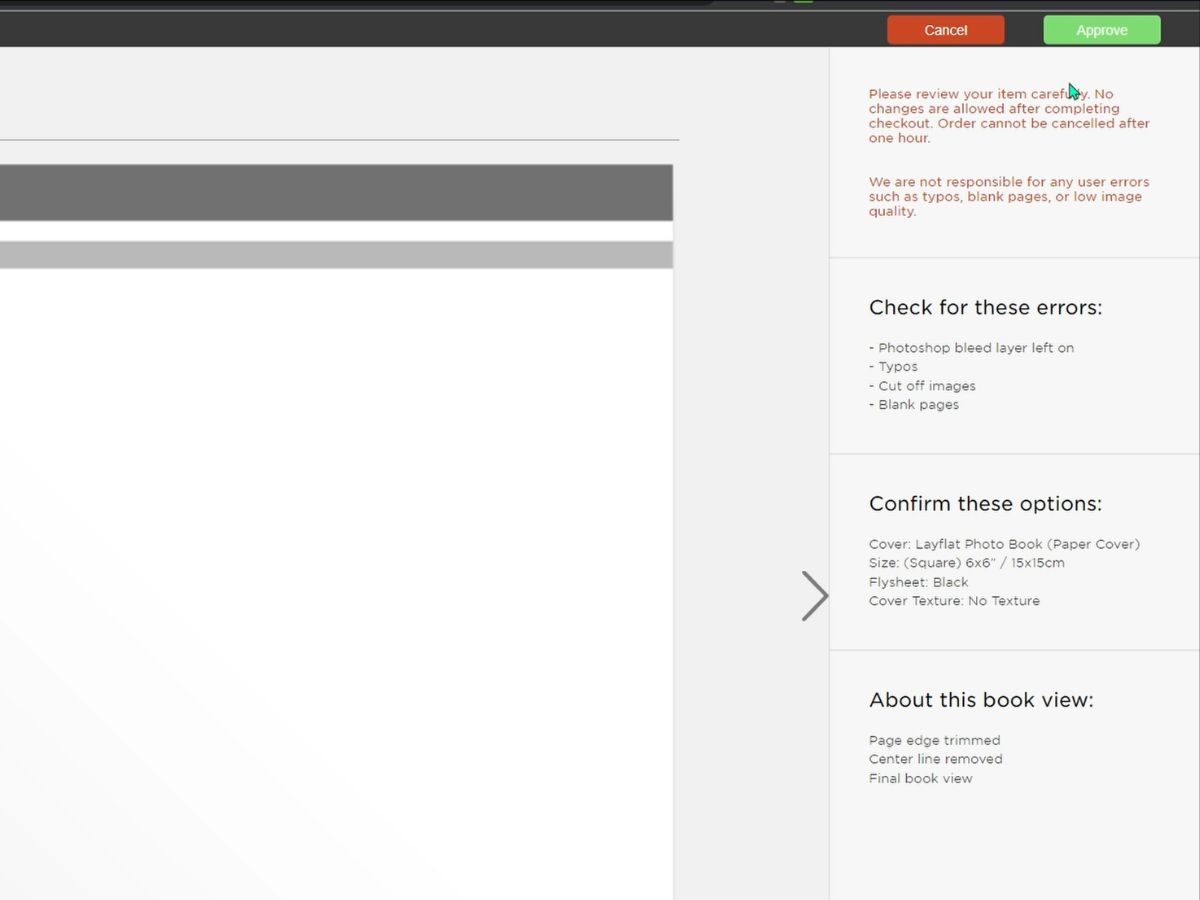
They also provide you with some last-minute items, so you should double-check with your album before ordering.
I find this to be a very nice, helpful feature.
In conclusion, those are the 5 steps in designing and making your photo album. Good luck, and have fun. I hope your photo album turns out great!